

Any time you make any change on your WordPress site, you risk breaking all or part of your website. Maybe, you update a plugin and it crashes your site. Or, perhaps you are changing the layout and accidentally break your checkout page.
Whether you are installing new plugins or changing your theme’s settings, any change could cause issues on your site for your site’s visitors.
This is where staging sites come in.
What are staging sites?
A staging site is an exact copy of your website that is for your testing only. This site will look and work exactly like your “real” site, but none of your site visitors will see it.
You can make design changes, test different layouts, modify settings, and any other changes without your visitors noticing. Then, when you are ready, you could apply those same changes to your live site.
A staging site is similar to a digital “sandbox” where you can test everything out without risking breaking your site. Want to see what your website would be with a different theme? Want to add a few new plugins and test them out to see which one you like? Need to perform updates? All of these could be done on your staging site first to make sure nothing causes an issue on your site before making changes on your real site.
Even better, some staging site systems can automatically make the changes on the live site when you are ready!
How to set up your staging site
Depending on where your site is hosted, you have a few different options in getting and using a staging site.
Using your hosting provider’s staging site
Many of the managed WordPress hosting providers and some of the better shared-hosting providers offer staging sites as part of their plans. If this is the case with your hosting provider, getting a staging site could be as simple as enabling it in your account.

Once enabled, you will typically see the additional WordPress site show up within your account. Depending on your hosting provider’s system, you might have an option to “push” your changes from the staging site to your live site when you are ready. This saves you time as you do not have to make all the same changes manually again on the live site.
Using a plugin
Many hosting providers do not have a built-in option for staging sites. This is where a plugin can help. There are a few staging site plugins that you can install which will create a staging site for you, but the one I recommend is WP Staging.
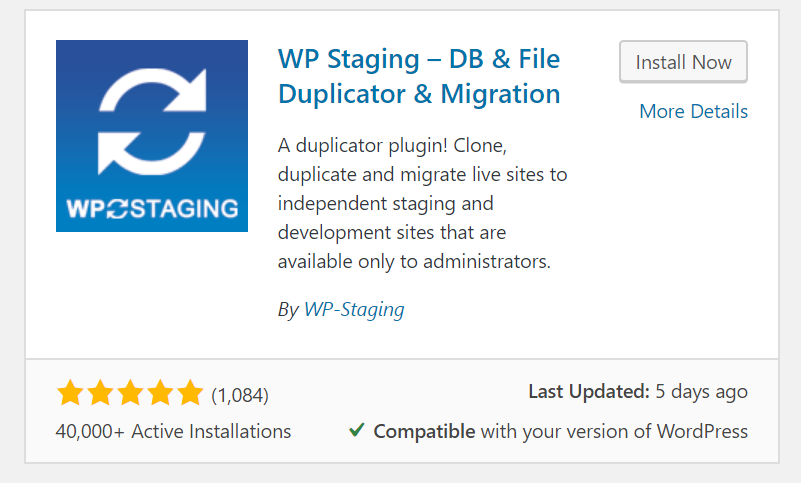
This free WordPress plugin can automatically create and set up your staging site. This plugin is built to make the staging site process easy, fast, and safe, which makes it perfect for those who are not too technical.
In the free version, you can create the staging site and send changes from the live site to the staging site as you continue to create content. However, to send changes back to the live site from the staging site, you will need to upgrade to the premium version of the plugin. If you are only using the staging site for small changes or just to test updates out, you could use just the free version.
As with installing any plugin, there is always the potential that a new plugin can break your website. So, before beginning, you will want to back up your site.
You can install this plugin from the “Add New” page as you would with any other plugin. Once installed and activated, you can go to the new “WP Staging” menu.
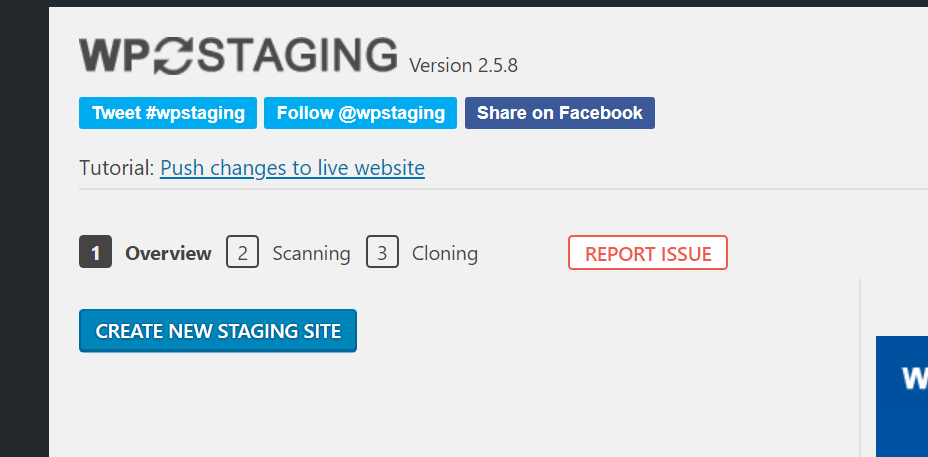
Once there, you can click on “Create New Staging Site” to begin.
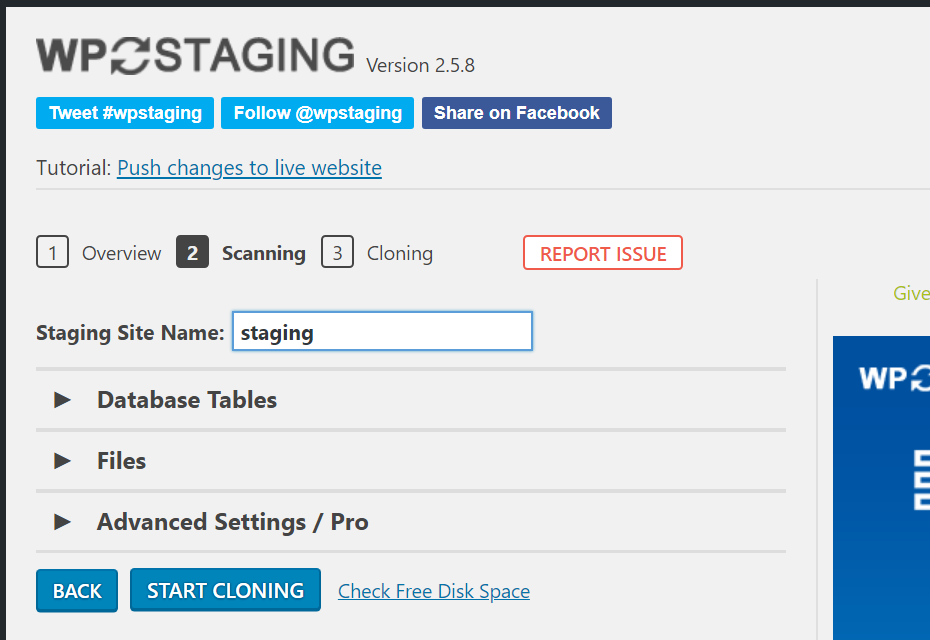
From there, you will need to name your staging site. This is entirely up to you, but I would recommend something simple, such as “staging”. Once named, click on the “Start Cloning” button.
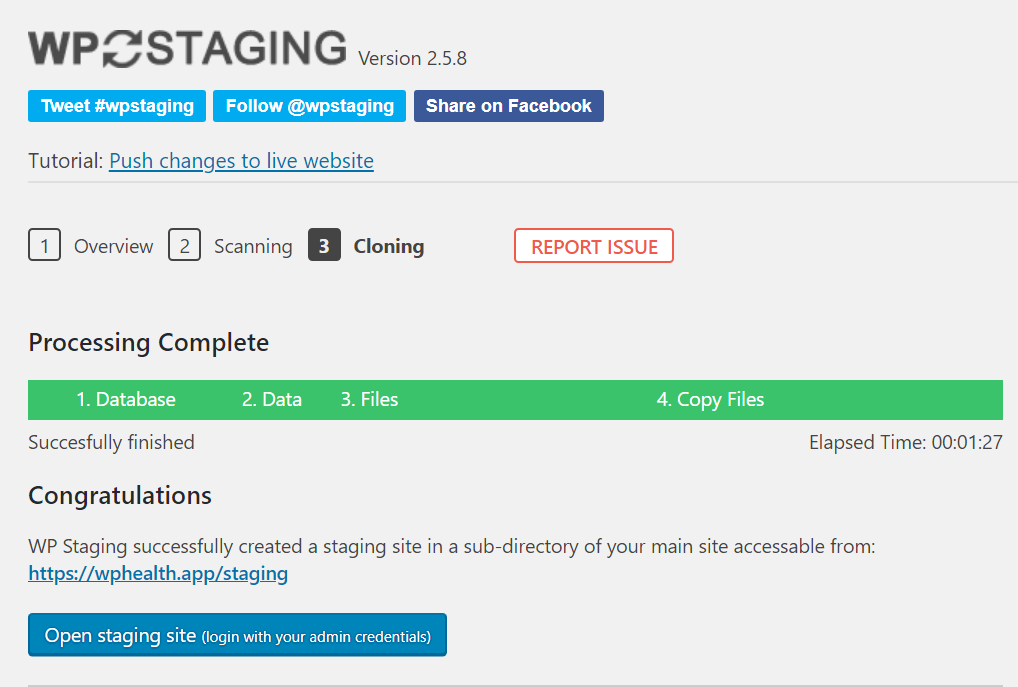
Once the process is finished, you will be able to log into your staging site with your normal login credentials. The URL is listed on this “Processing Complete” page. If you forget the URL, the new staging site will also be listed if you go back to the main “WP Staging” page.
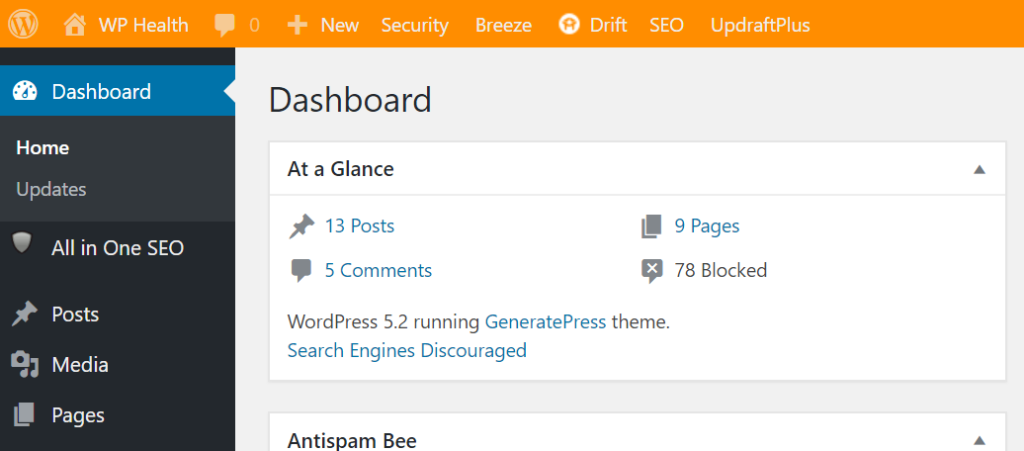
To make sure you know which site you are logged into, WP Staging changes the admin bar color of the staging site to orange.
Manually
If you are a little more technical, you can manually create a staging site in a subdomain within the same server or a different server or in a subfolder. There are 3 main steps for this process. You need to create a subdomain (if not using a subfolder), make a copy of your WordPress database, and then make a copy of your WordPress files.
Depending on your hosting provider and domain name registrar, the process of setting up a subdomain can vary greatly. So, refer to their documentation for setting up a subdomain before proceeding.
Once you have your location (either subfolder or subdomain), you will want to set up a new WordPress installation in that location. Most hosting providers have an account dashboard which has a way for you to install WordPress. This may be the way that you installed your live WordPress site.
So, using that same feature, install WordPress in your new subdomain. This process differs between each host but usually, would you click to install WordPress and it will ask which domain or subfolder that you want to install it in.
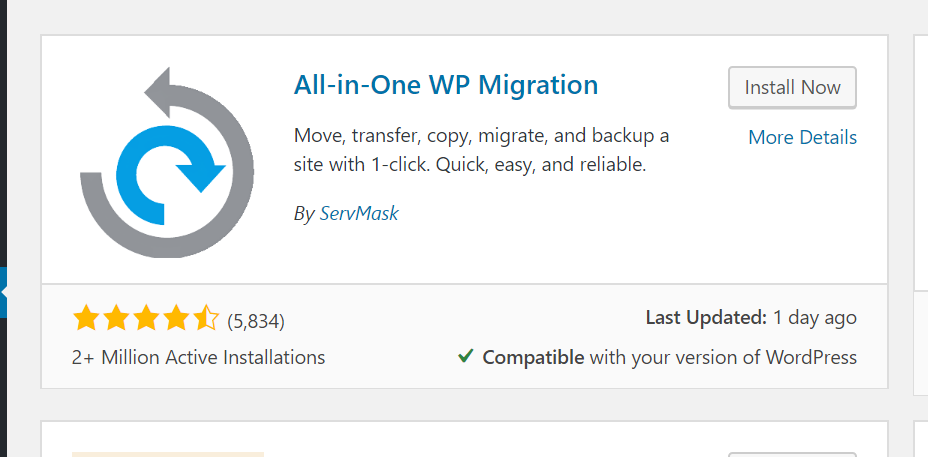
Once you get WordPress installed in your subdomain or subfolder, it’s time to install a migration plugin on both the live site and staging site. A good free option is the All-in-One WP Migration plugin.
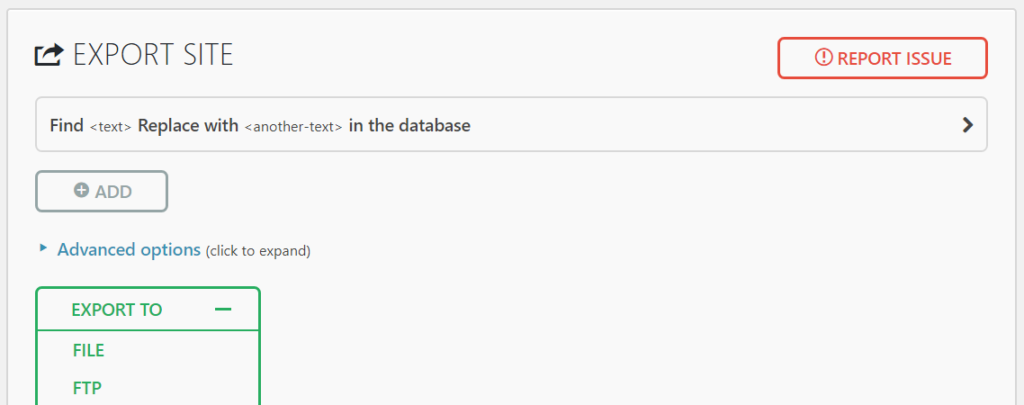
Once you have the plugin installed on your live site, go to the “Export” page in your new All-in-One WP Migration menu. On this page, click on “Export To” and select “File”. This will allow you to download the export file.
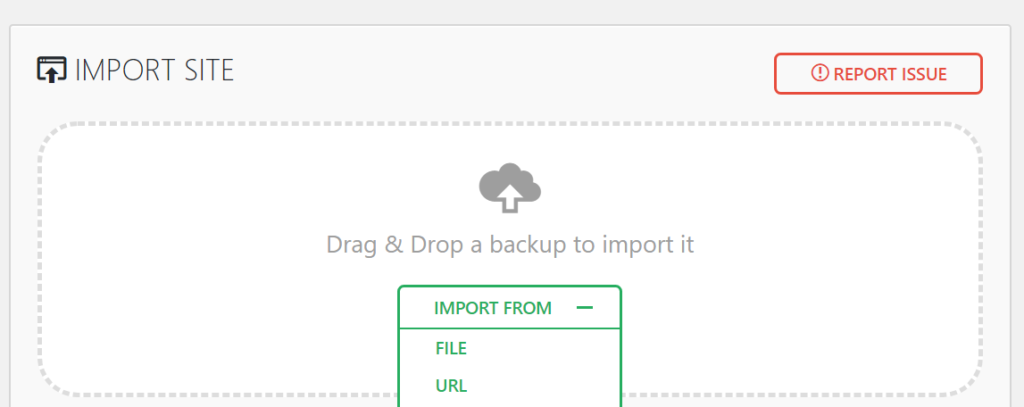
Once you have the file, install the All-in-One WP Migration plugin on your staging site. Now, go to the All-in-One WP Migration menu but go to the Import section. Choose the “Import From” option and select the file you downloaded.
Once the process runs, you will have a new staging site to test on!
What’s next?
Now that you are a little familiar with staging sites, check to see if your hosting provider has staging sites for you to use. If not, you will want to consider using the WP Staging plugin or manually creating a staging site.
Once you have your staging site, always perform your updates first on the staging site to make sure nothing breaks on your live site.
- Share: